
Please note: this article is an illustrative planning example. It does not describe a specific completed Resi-Tech installation, customer, address or quotation, and the image is illustrative rather than a photograph of a Cambridge project. For genuine completed work, see our Project Gallery and our Harston project on the Cambridge area page.
The example follows a common situation: a family home in Cambridge with an ageing block-paved driveway that has become uneven and weedy in the joints, where the owners want a seamless, permeable surface instead.
1. Start with a site survey
Every resin bound project should begin with a survey of the actual driveway. A surveyor measures the area, checks levels and falls, looks at how water currently drains, and identifies drains, manholes, steps, thresholds and boundaries that the new surface must work around.
Our guide price is £170 per m² plus VAT, with a minimum charge equivalent to 40 m² (£6,800 + VAT). A written quotation follows the survey, because the final specification depends on what the survey finds.
2. Decide whether the existing base can be reused
Resin bound can sometimes be laid over an existing hard surface, but only if that base is sound, stable and suitable for the intended drainage. Block paving that has sunk, moved or has weak bedding is generally not a suitable base, so excavation and a new engineered sub-base may be needed.
Cambridge sites vary, and ground conditions, tree roots and existing services all affect the decision. That is why we do not promise an overlay before the base has been assessed.
3. Plan the drainage and check planning rules
Resin bound is a permeable surface, but the whole build (surface, base and the ground beneath) determines how water drains. Where water cannot soak away, the design may need to direct it to a suitable drainage point.
For front gardens in England, government guidance says that replacing more than five square metres of surface generally does not need planning permission if the new surface is permeable or water drains to a permeable area within the property. Listed buildings, conservation areas and other local restrictions can differ, so check with your local planning authority if in doubt.
4. Choose the aggregate and edging
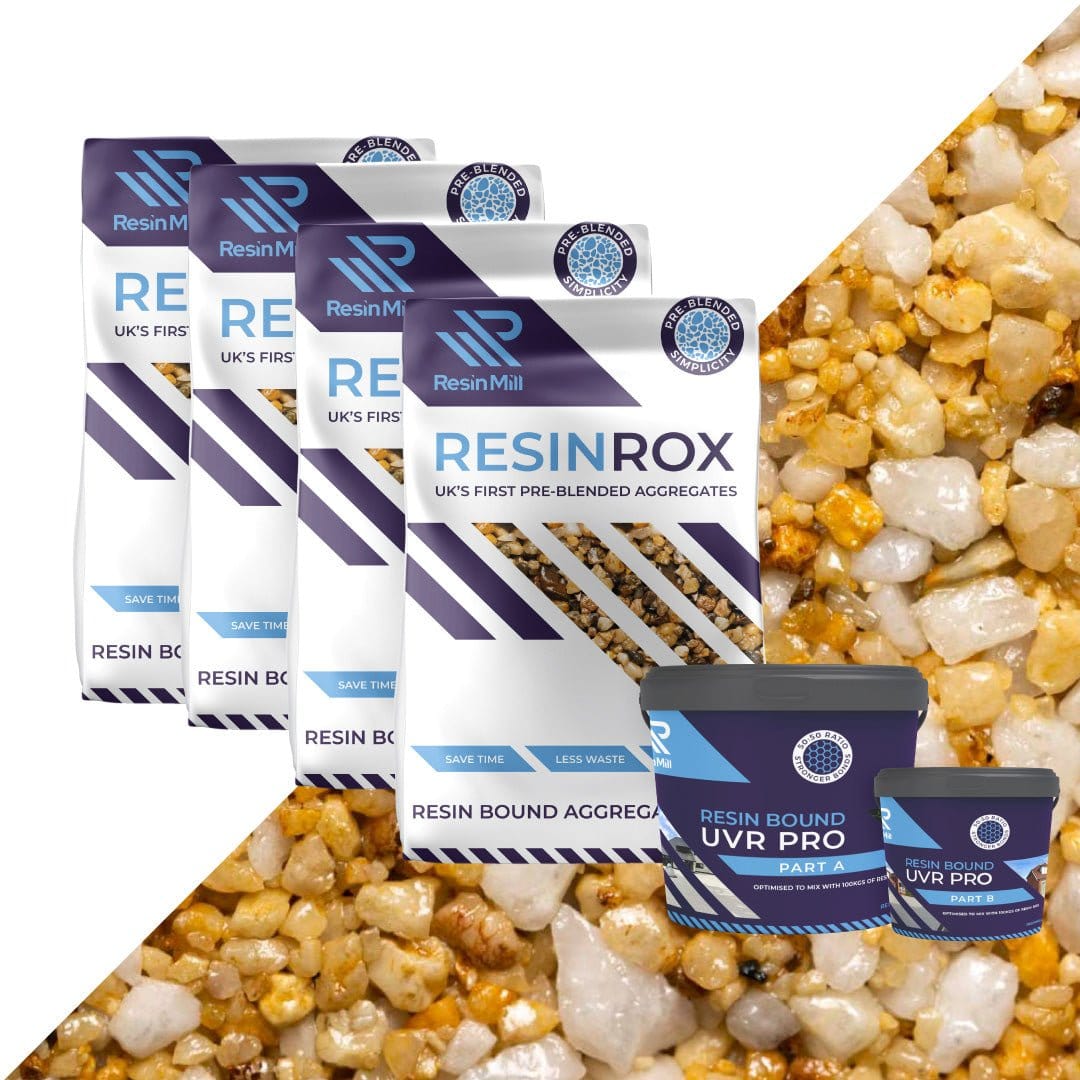
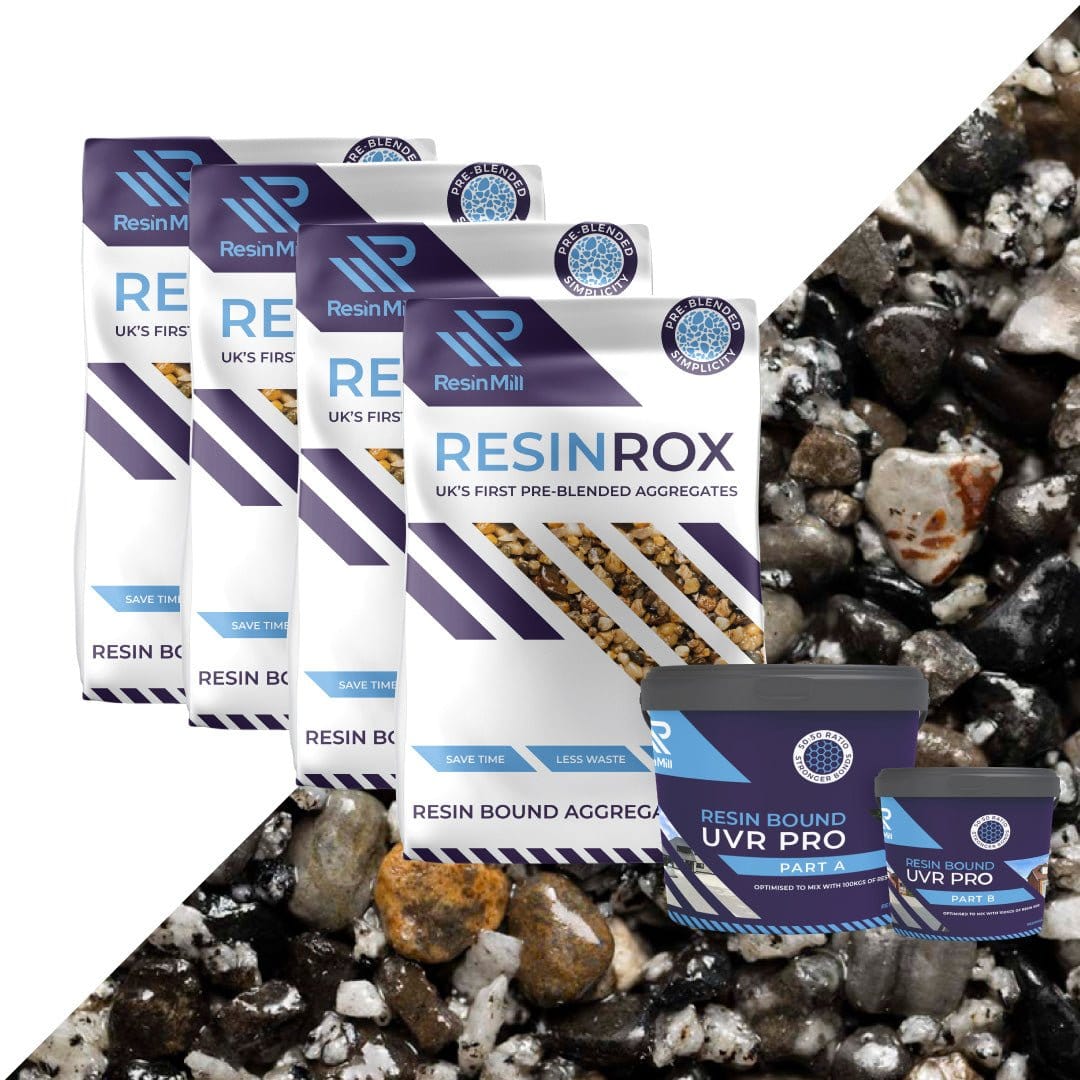
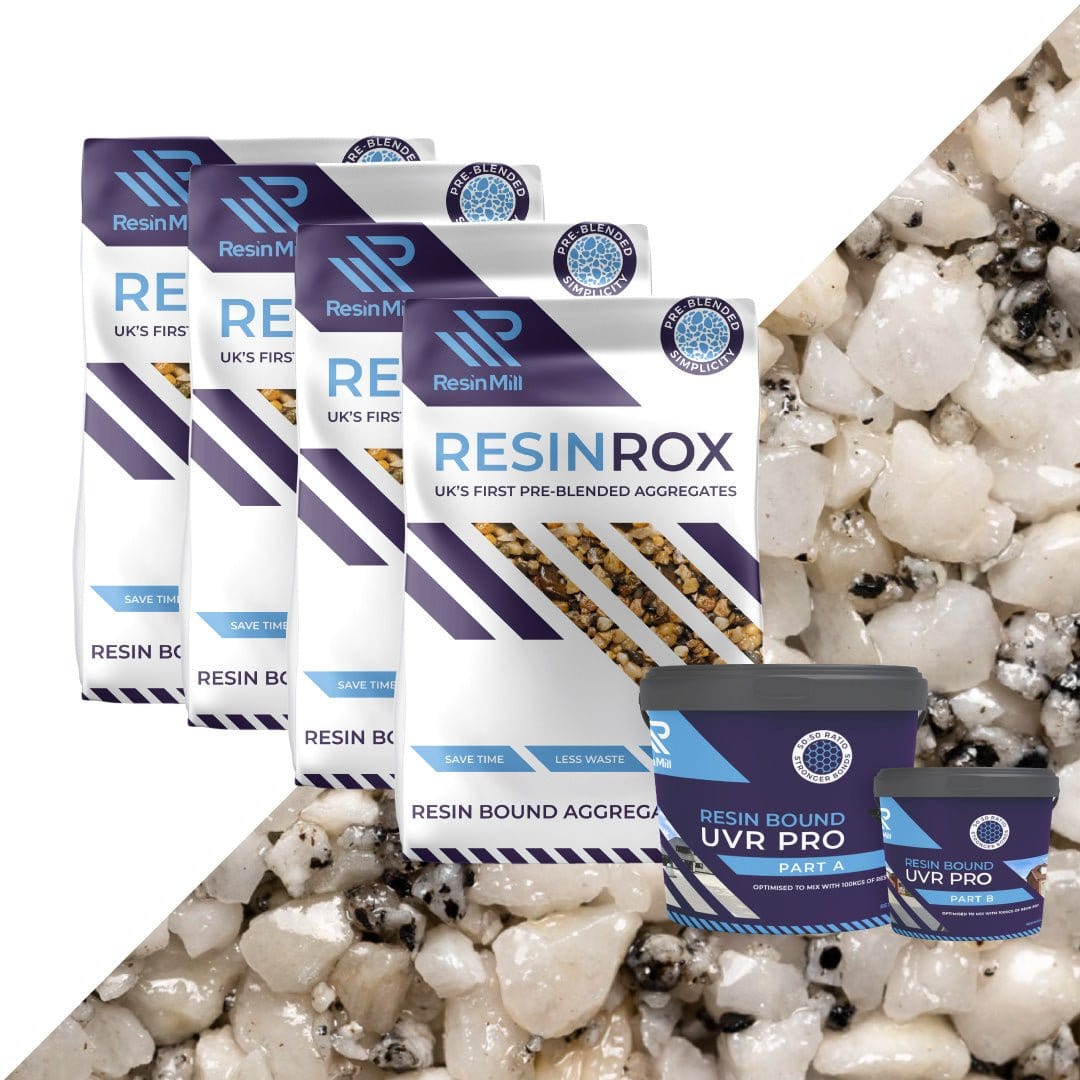
Colour is easiest to judge outside, against your own brickwork and in natural light. We bring physical samples from the Resin Mill range to surveys. Edging options such as setts, blocks or a contrasting resin border help define the drive and keep a clean line against lawns and planting.
If an electric vehicle charger may be added later, it is worth discussing any cable routes with your electrician before the new surface is laid.
5. Installation, curing and aftercare
Installation time depends on the size of the drive and the amount of groundwork. Curing times depend on the resin system and on temperature and weather, so we confirm when the surface can be walked on and driven on for each job.
Resin bound is low maintenance rather than no maintenance: occasional sweeping and periodic washing keep it looking its best, and debris left on the surface can still allow weeds or moss to take hold on top. Qualifying new installations are covered by our five-year installation guarantee, subject to the terms and conditions of the guarantee.