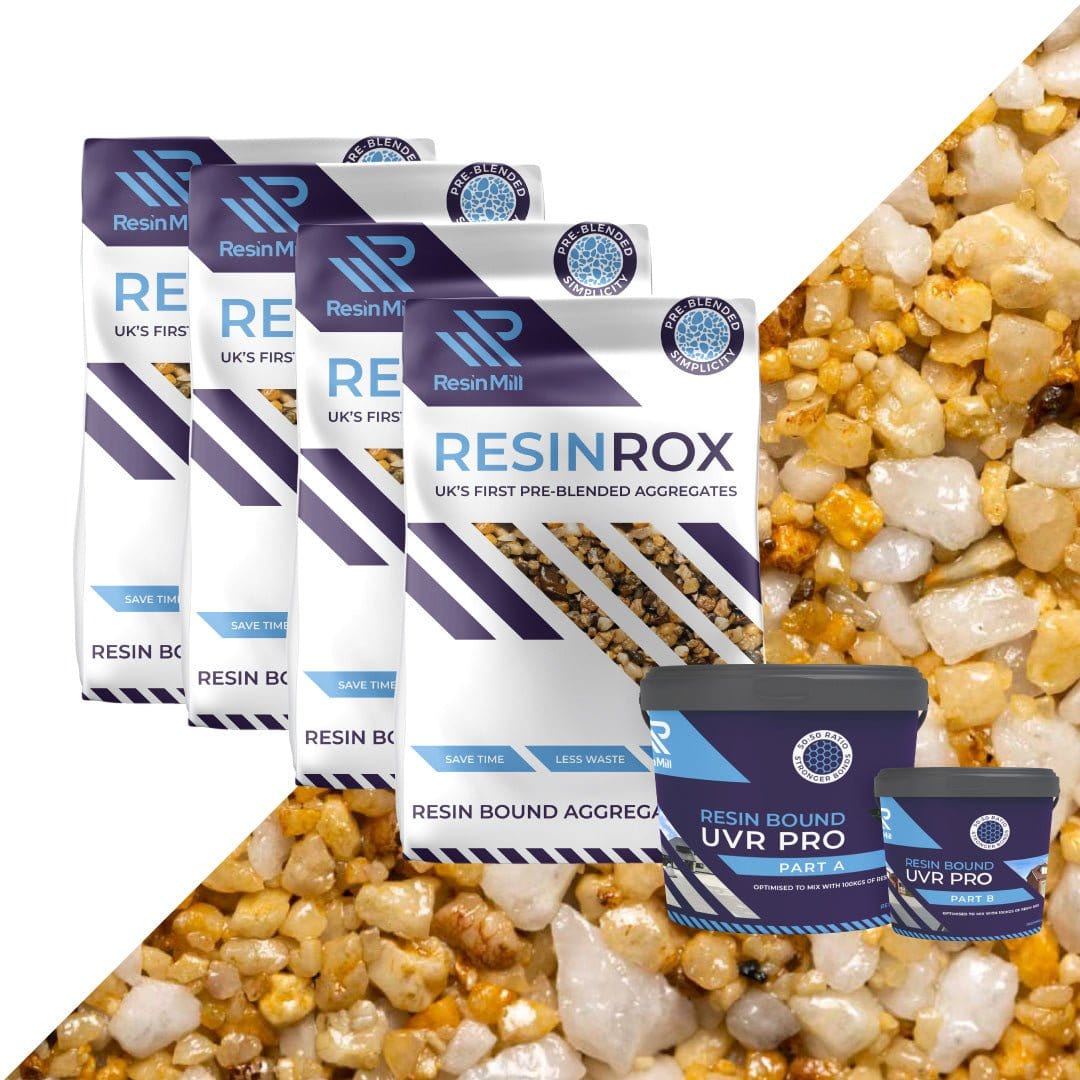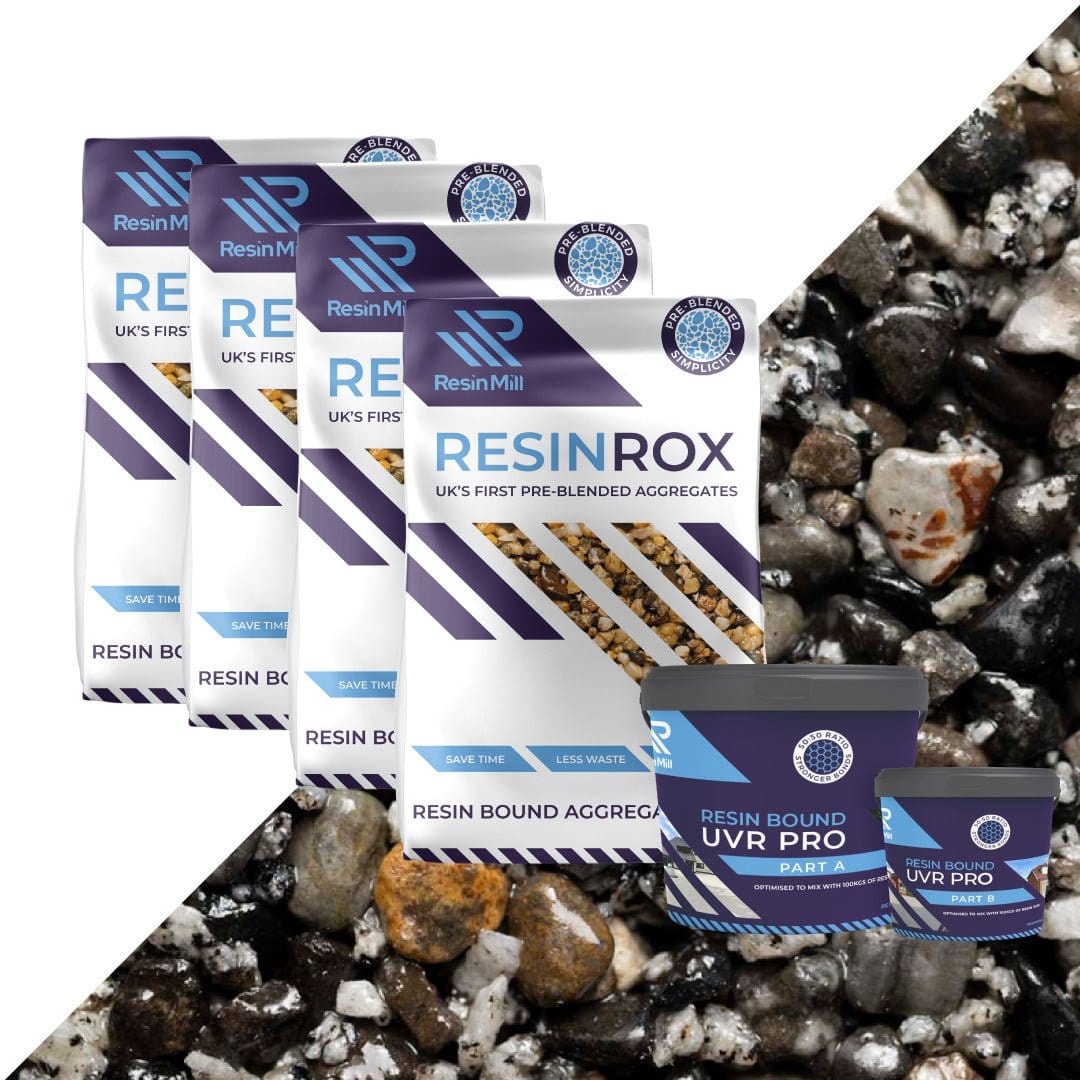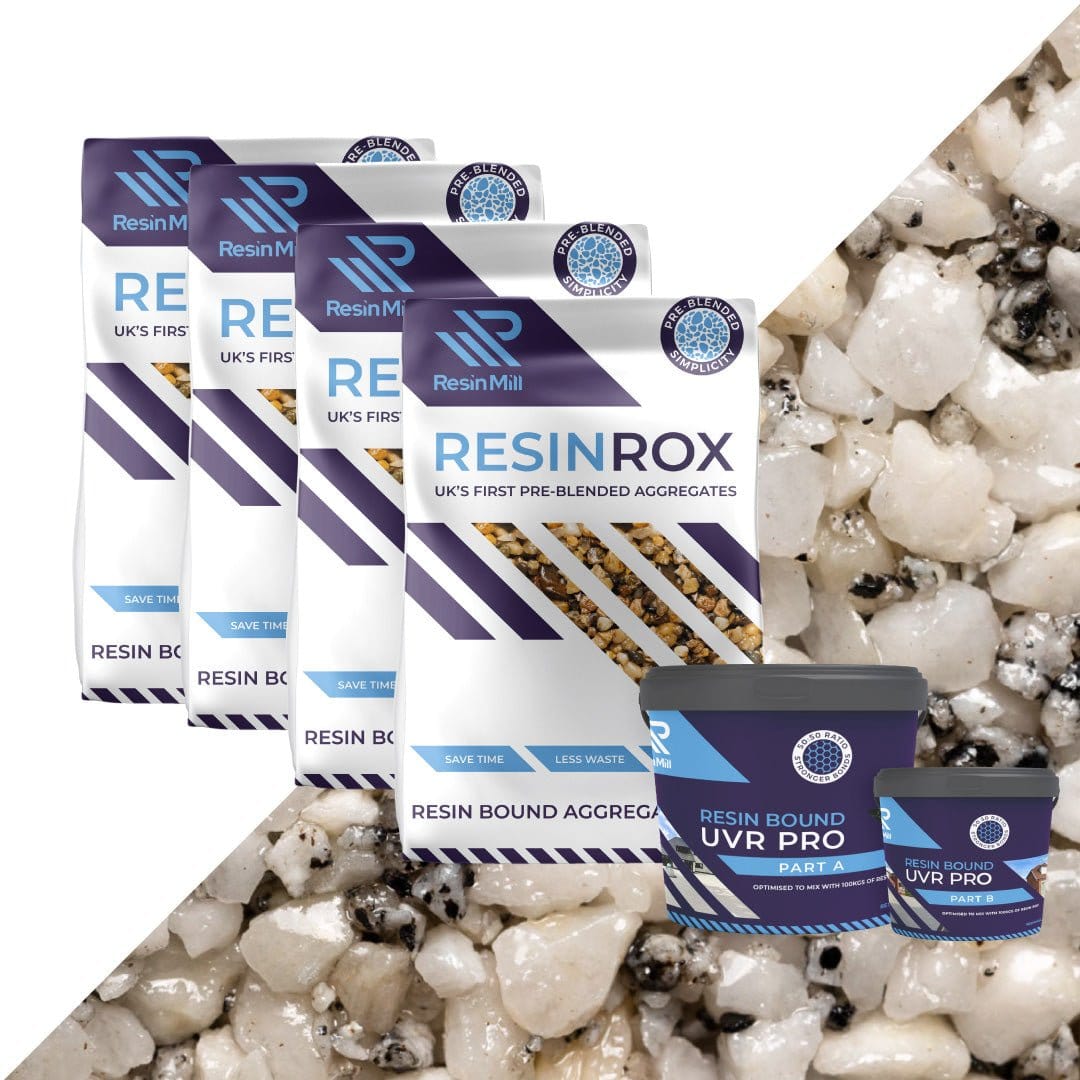
Understanding exactly how a resin bound driveway is installed helps you compare quotes honestly and know what a good specification looks like. Here is the full seven-stage Resi-Tech process.
Stage 1 — Free site survey
A Resi-Tech surveyor visits, measures the drive, tests the falls, checks the existing base and discusses colour on physical sample trays. Every recommendation is written down on the spot.
Stage 2 — Written specification
Within 48 hours we send an itemised quotation confirming aggregate blend, resin type, surface depth (typically 18mm on driveways), base build-up, edging and the five-year written guarantee.
Stage 3 — Base preparation
Either the existing base is prepped for overlay, or we excavate and lay a permeable MOT Type 3 sub-base compacted in layers. Where the base is sound tarmac or concrete, an overlay saves time and money without compromising quality.
Stage 4 — Edging and priming
Aluminium or brick edging is set to define the perimeter, then a specialist primer is applied to guarantee adhesion between the resin matrix and the substrate.
Stage 5 — Mixing and laying
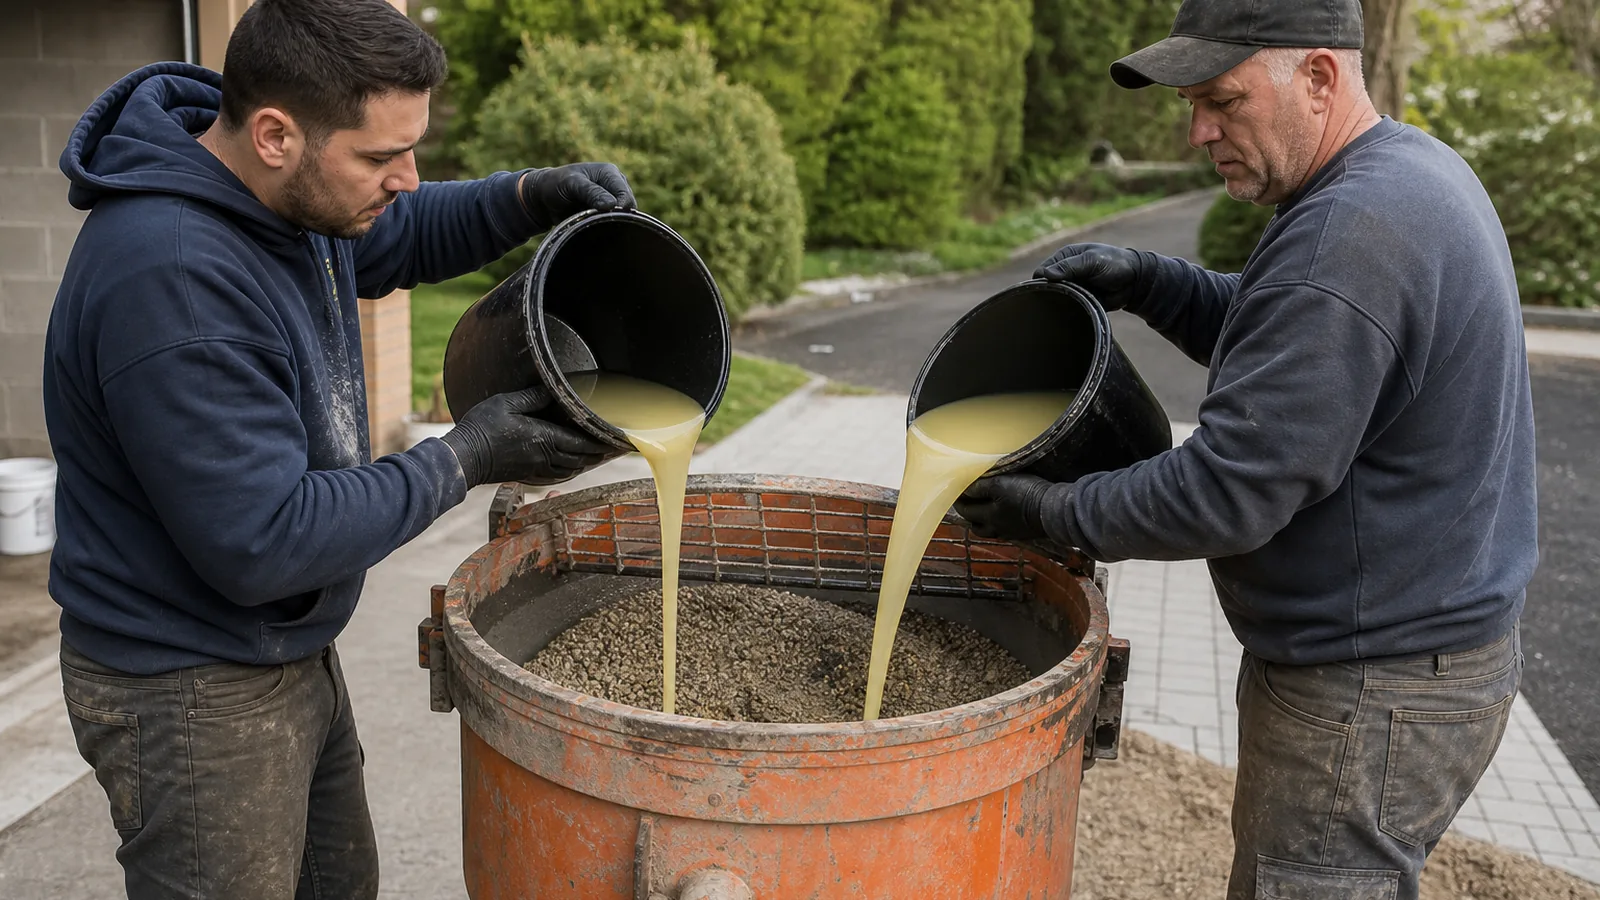
Aggregate and UV-stable aliphatic resin are combined in a forced-action mixer at exactly the specified ratio, poured, screed to depth and hand-trowelled to a seamless finish. This is the stage that separates specialist installers from generalists — trowel technique defines the final surface texture.
Stage 6 — Cure
The drive is cordoned off. Foot traffic is usually possible within around 6 hours; vehicles typically 24–48 hours depending on temperature. Every project comes with a printed aftercare card.
Stage 7 — Handover
Once fully cured, we walk you through the finished drive, complete a snagging check together, and issue your written five-year installation guarantee.