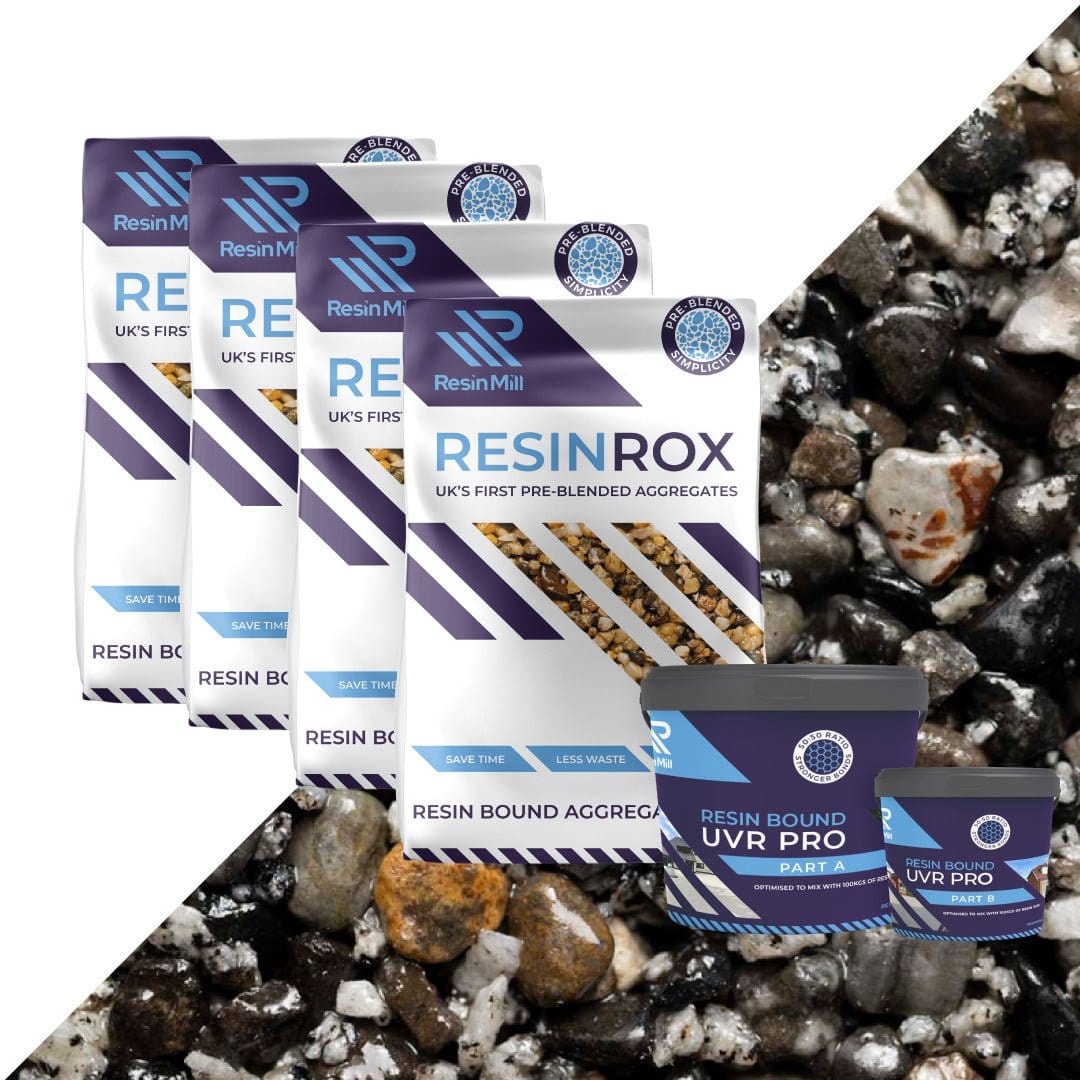
A resin bound surface is only as good as the process behind it. The finished result looks simple; the sequence to get there is not. This is exactly what happens on a Resi-Tech installation, in the order it happens.
1. Site survey and specification
Every project starts on site. We measure, check falls, inspect the existing surface for cracks, dips, hollow-sounding areas and root damage, and confirm access, drainage points and vehicle loads. The written specification you receive names the aggregate blend, resin type, depth, base build-up and any drainage or edging work required.
2. Groundworks and base preparation
Most driveways can be laid over a sound existing tarmac or concrete base once cracks and hollows are repaired. Where the existing base has failed — or on new-build plots — we excavate to a suitable depth and install a permeable Type 3 sub-base with an open-graded binder course.
Every base is checked with a straight edge and a moisture meter. Resin will not cure correctly on a damp base, so we wait for readings within specification before proceeding.
3. Edging and detailing
Clean edges make or break the finished look. Depending on the project we install steel edging, aluminium channel, permeable brick borders or trowel into existing kerbs and thresholds. Utility covers are picked up, packed to the new finish level and reset before the resin is mixed.
4. Mixing and laying
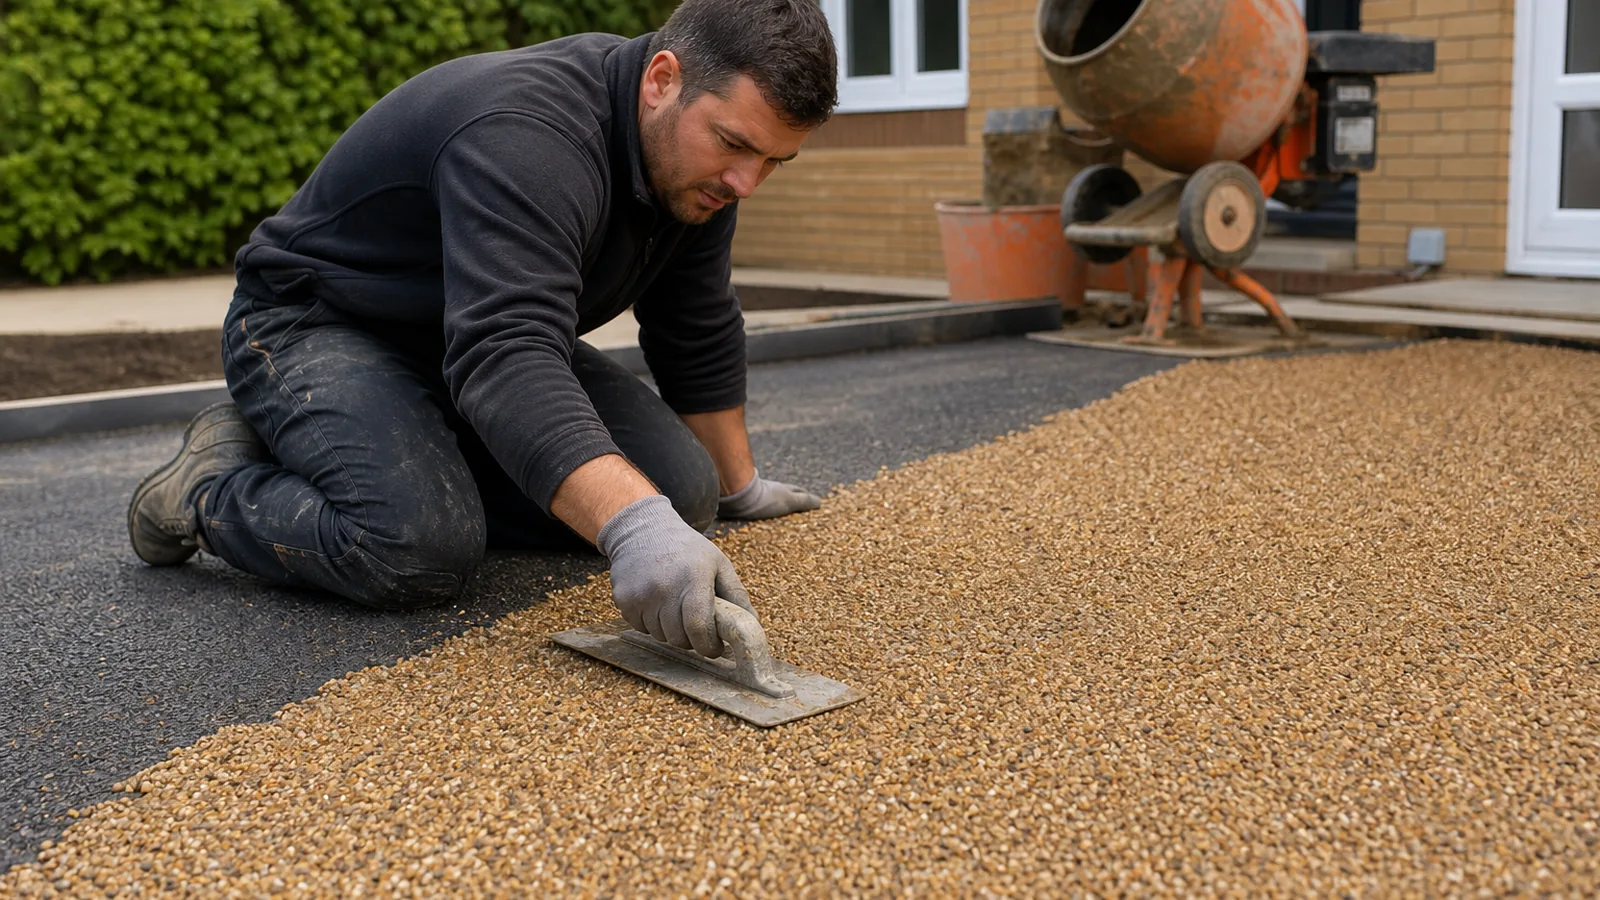
Aggregates and resin are forced-action mixed in strict ratios in a mobile mixer, then barrowed onto the base and hand-trowelled by a two- or three-person team. The mix is worked in continuous panels to avoid visible cold joints. On a typical 60m² driveway we lay the full surface in a single day.
5. Cure and handover
The surface is walkable in 4–6 hours and open to vehicles the following day in normal UK conditions. We return for a snagging walk after the first weekend and again after four weeks. Your handover pack includes the aggregate specification, resin batch data, guarantee certificate and care instructions.
Why the process matters
Failures in resin bound driveways almost always trace back to the base, the mix ratio or the weather window — never to the aggregate itself. A specialist installer with directly-employed teams, calibrated mixers and moisture meters will produce a driveway that looks the same in year 20 as it did in year one.